Introduction
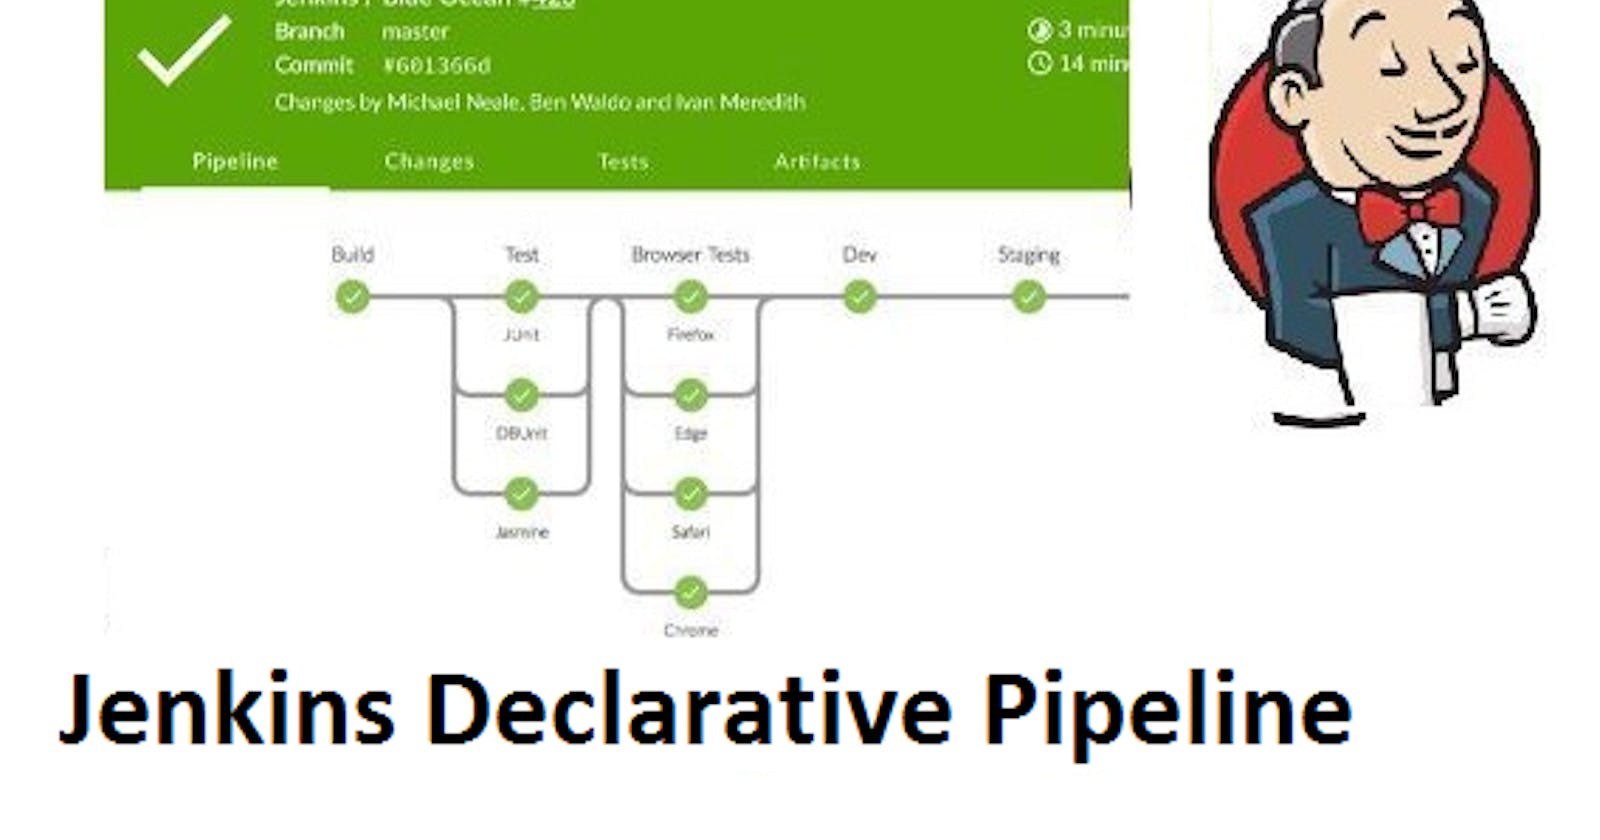
We have learned in the previous blogs about creating pipeline through Jobs, but Jenkins recently introduced another way of creating a pipeline, pipeline as code, known as the Declarative pipeline.
Welcome DevOps enthusiasts, In this blog we are going to dive deep into declarative pipeline in Jenkins, Knowing how it works and its pros and cons. So without any further delay, let's begin learning.
What is a Pipeline?
A pipeline is a collection of steps or jobs interlinked in a sequence. Each step in the pipeline typically takes input from the previous step, processes it, and produces output for the next step.
Pipelines are commonly used for tasks such as data processing, continuous integration/continuous delivery (CI/CD) in software development, and automation workflows in various industries. They help streamline processes, improve efficiency, and ensure consistency in output.
What is a Declarative Pipeline?
Declarative is a more recent and advanced implementation of a pipeline as a code. Its implementation is pretty simple and straight forward. We just have to write the code and the Pipeline will be established.
It is very much similar to its counterpart, Scripted pipeline, but it doesn't require writing extensive script code.
The syntax is declarative and it provides a more structured and concise way to define pipelines, making it easier to read, write, and maintain.
Writing a Declarative Pipeline
The definition of a Jenkins Pipeline is written into a text file (called a Jenkinsfile) which in turn can be committed to a project’s source control repository.
This is the foundation of "Pipeline-as-code"; treating the CD pipeline as a part of the application to be versioned and reviewed like any other code.
Creating a Jenkinsfile and committing it to source control provides a number of immediate benefits:
Automatically creates a Pipeline build process for all branches and pull requests.
Code review/iteration on the Pipeline (along with the remaining source code).
Declarative Pipeline Syntax
Here is the syntax and explanation of its components,
pipeline {
    agent any
    stages {
        stage('Build') {
            steps {
                //
            }
        }
        stage('Test') {
            steps {
                //
            }
        }
        stage('Deploy') {
            steps {
                //
            }
        }
    }
}
This declarative pipeline outlines a simple pipeline consisting of three stages: Build, Test, and Deploy. Each stage contains placeholder steps, which would need to be replaced with actual commands or scripts relevant to each stage's purpose.
pipeline { ... }: This defines the start and end of the pipeline block. Everything related to the pipeline is contained within these curly braces.agent any: This line specifies where the pipeline will be executed.anymeans the pipeline can run on any available agent (node) in the Jenkins environment.stages { ... }: This block defines the different stages of the pipeline. Stages represent distinct phases of the pipeline process, such as building, testing, and deployment.stage('Build') { ... }: This defines the first stage of the pipeline, named "Build". Inside this stage block, you can define the steps that will be executed as part of the build stage.steps { ... }: This block specifies the individual steps that make up the stage. Steps are the actual actions or commands that are executed during the stage. In your example,//is a placeholder indicating that actual build steps would be written here.Similarly, you have
stage('Test')andstage('Deploy')blocks, which define the "Test" and "Deploy" stages, respectively. Inside each stage block, you can define the specific steps required for testing and deployment.Again,
steps { ... }blocks inside each stage define the actual actions to be performed during each stage.
Hands On practice
Task-01
Create a New Job, this time select Pipeline instead of Freestyle Project.
Follow the Official Jenkins Hello world example
Complete the example using the Declarative pipeline
Conclusion
The short blog covered the concept of declarative pipelines in Jenkins, explaining their structure and advantages over scripted pipelines. The Pipeline syntax was showcased, demonstrating how to define stages for building, testing, and deploying code within a declarative pipeline.
The explanation highlighted the simplicity and clarity of declarative syntax, offering a more readable and maintainable approach to defining pipelines as code. I hope this blog added some value to your learning.
Ending this with a quote
Life is like riding a bicycle. To keep your balance, you must keep moving. - Albert Einstein
Happy Learning.

